Part 10: Adding Text
Table of contents
Creating an Item Description Dialog
Each item that can be selected from your menus will have 3 properties:
- A Name
- A Price
- A Description
Create a Container for the Selected Item Info
To display this information, you can create a container to hold 3 Text GameObjects:
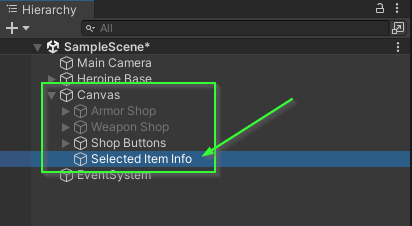
Within your Canvas element, add a new GameObject to be the container.

Rename the container to reflect that it will display information about the selected item. In this guide, it will be referred to as Selected Item Info.
Adding a Text GameObject to the Selected Item Info Container
- Right click on the
Selected Item Infocontainer to create a child component - Select
UI>Text - TextMeshPro
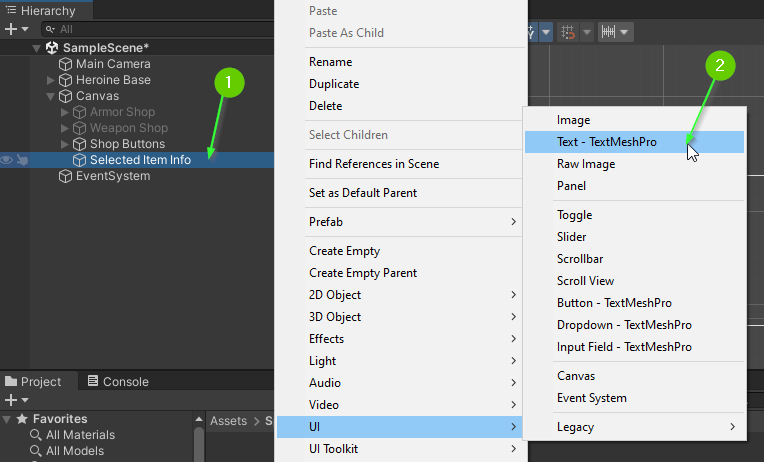
- Rename the
GameObjectto reflect that this text will be the name of the item. In this guide, it will be referred to asItem Name (Text).

TextMeshPro - Text (UI) Component Properties
- Select the
Item Name (Text)GameObjectin theHierarchytab - In the
Inspectortab, find theTextMeshPro - Text (UI)component (you may have to scroll down)
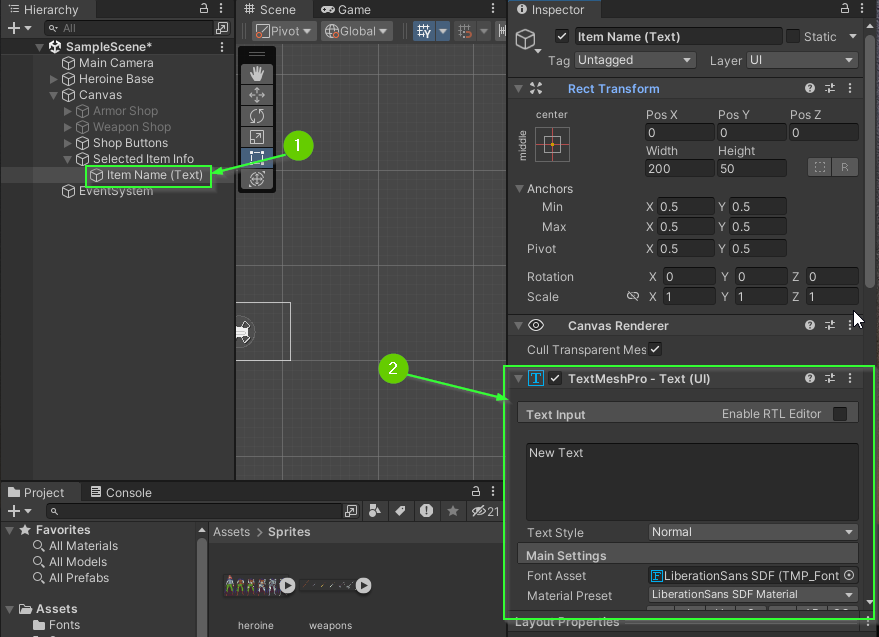
The TextMeshPro - Text (UI) component provides properties you can modified to change the way text is displayed on the screen. You may recall that your button GameObjects each have one nested inside.
- Change the displayed text to say be Item Name
- Adjust the
Font StyleBold by clicking theBin theMain Settings - Adjust the
Font Sizeto be64

Challenge: Add 2 More Text GameObjects
Remember that each item will have 3 properties: Name, Price, and Description
- Add 2 more text game objects as children of the
Select Item InfoGameObject- One for
Item Price (Text) - Another for
Item Description (Text)
- One for
- Use a
Vertical Layout Groupto automagically size and place the labels in a way you find pleasing.- Optionally: You may arrange them manually or using another layout manager of your choosing.
- Adjust the styling of each of your text
GameObjects to your liking. - If necessary, update the position of your armor and weapon buttons to fit nicely with your text.
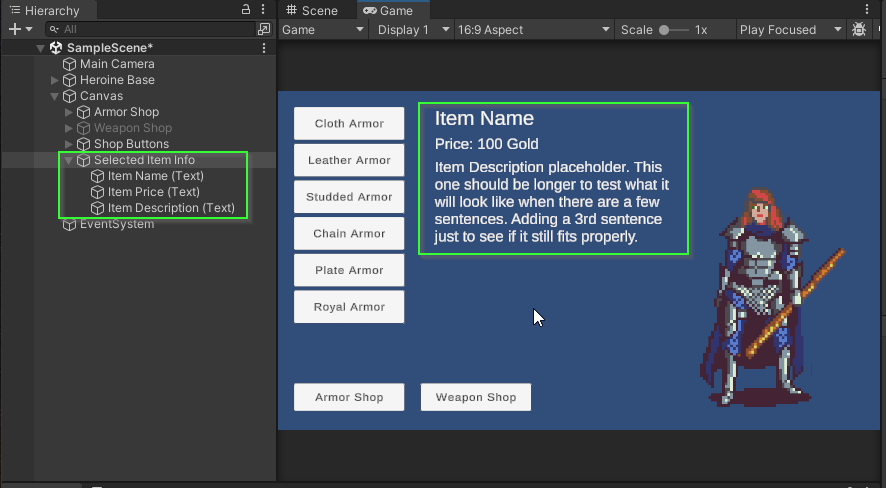
When you’re finished, your Hierarchy and Game view should look similar to this:
What’s Next?
Join the Discussion
Before commenting, you will need to authorize giscus. Alternatively, you can add a comment directly on the GitHub Discussion Board.